


One of the (many) difficult aspects of creating filmic images from a computer is being able to light things the way you would like. In the real world, you can use actual lights and place them relative to your subject to achieve the look and feel that good lighting can provide. Since the “actors” and objects in my film don’t exist except as zeros and ones somewhere on multiple hard drives, this process can be much more difficult & tedious.
Because the “rendering” of a character image (think of it as the way a computer creates or “draws” something) can take a long, long time, there are real disadvantages in creating the lighting wholly within your 3D program; as you might imagine, waiting for 3 hours to see how an image actually looks with the lighting you designed, only to discover it isn’t at all the look you were trying for…that process gets frustrating rather quickly and stifles creativity. You can literally go back and forth for days, making adjustments and tweaking things in the endless pursuit of matching what you see in your mind’s eye. (Makes me feel anxious just describing it!)
One of the great techniques I’ve discovered from my After Effects Guru Andrew Kramer (at Video Copilot) is being able to “re-light” an image after it has already been through the lengthy rendering process! The key is to create what is known as a “normal” map of your 3D model along with the regular image. In CGI parlance, a “normal” is a piece of information that tells the computer which direction in 3D space an object is pointed, so that lighting can be properly calculated. It is kind of a strange concept when you first think about it, but makes sense when you realize that it is all part of the telling the computer exactly what you want it to do. Here is an example:
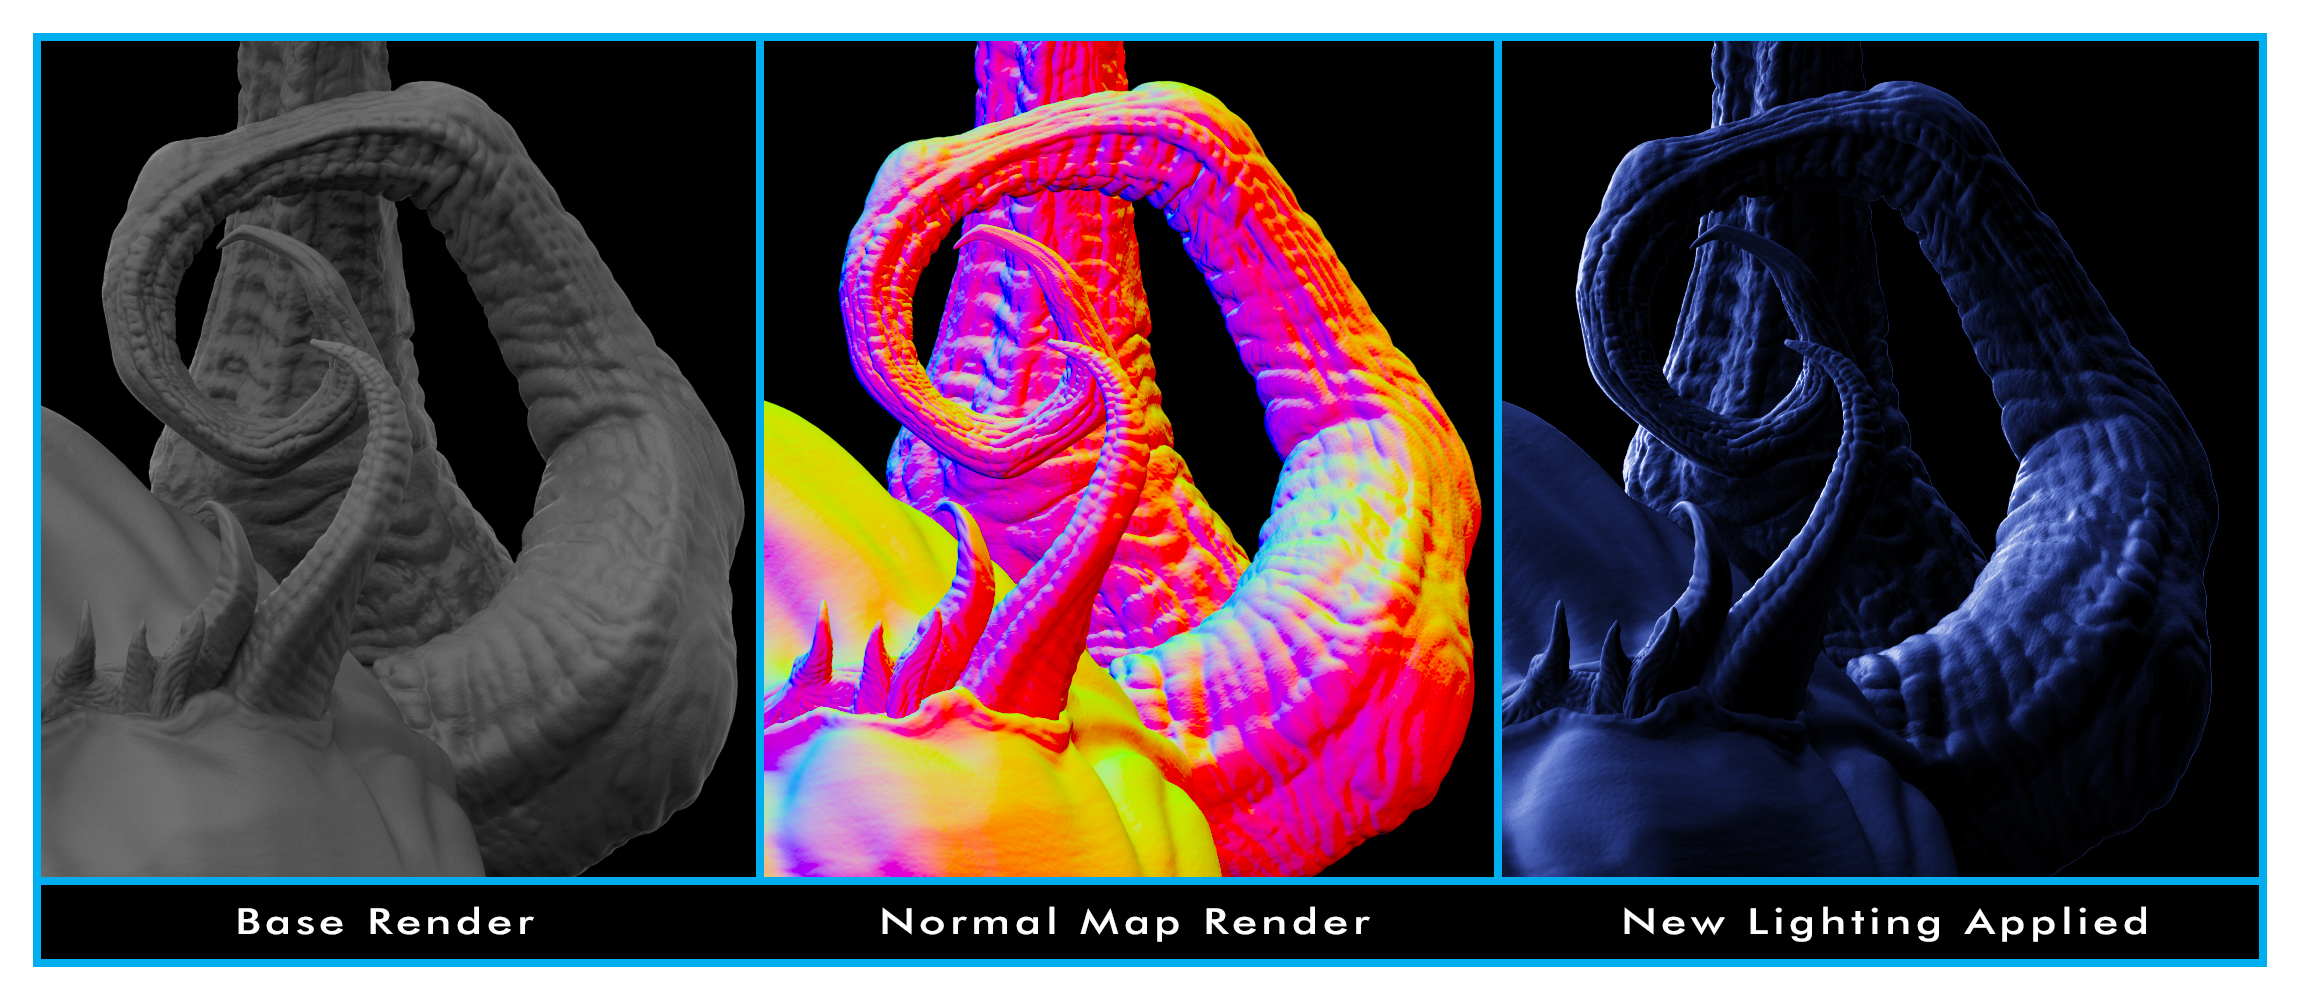 On the left is part of a rendering with pretty flat lighting, where I wasn’t concerned yet with trying to create the stylized, moody lighting that the final scene would have. The center image is the normal map; although it looks like something out of a 70’s-era DoodleArt poster, the intense and varied colorations on the image “map” out which way each individual surface of the model is facing. The image on the right was produced by combing both of the other images in Adobe After Effects (the compositing/special effects/animation program I am using to generate all of the shots for The Price) and introducing new 3D lights to create the look I want.
This process is enormously freeing, as I can rework it at any time to conform to new ideas or scene configurations without having to spend hours rendering just to see if an inspired thought had merit or not. Pretty neat, huh? 
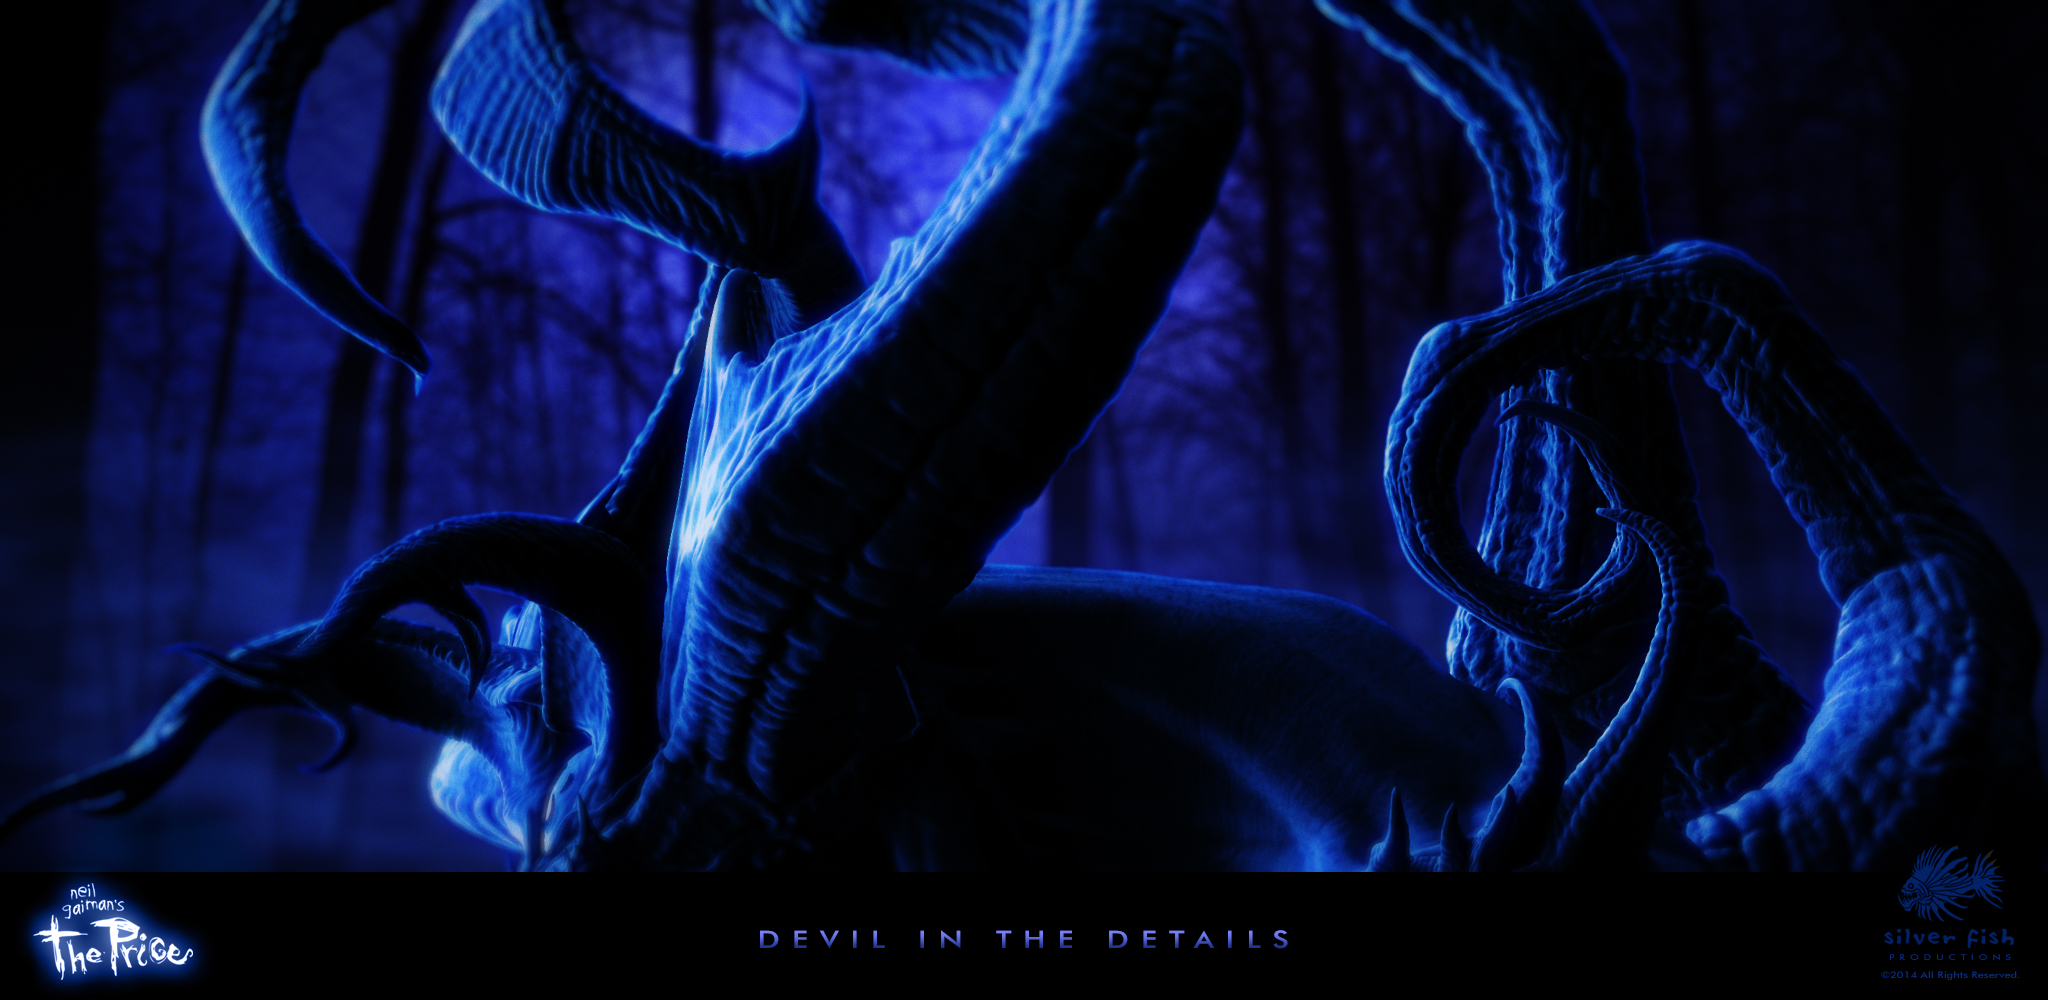
Here is an image from the same rendering I thought might be helpful for keeping everyone in the proper ‘spirit’ this week. Enjoy, and have a safe & spooky Halloween!

Film images created with the help of computer in animation and or digital gaming video are having greater impact and effectiveness and the appearance and expression in one or more ways depend upon how they are being lighted to. I completely agree with you on this matter that is a bit difficult to configure them in more and more impressive and unique ways.
Thanks Aktar! The tech part is challenging but the creative freedom is really liberating!